Friendly Reminder (Disclaimer): Hey there! Just letting you know that the thoughts shared in this post are my own. While I aim to provide helpful info, please consult a professional as needed. Also, this post might include affiliate links, which means if you click and make a purchase, I could earn a small commission at no extra cost to you. Thanks for your support!

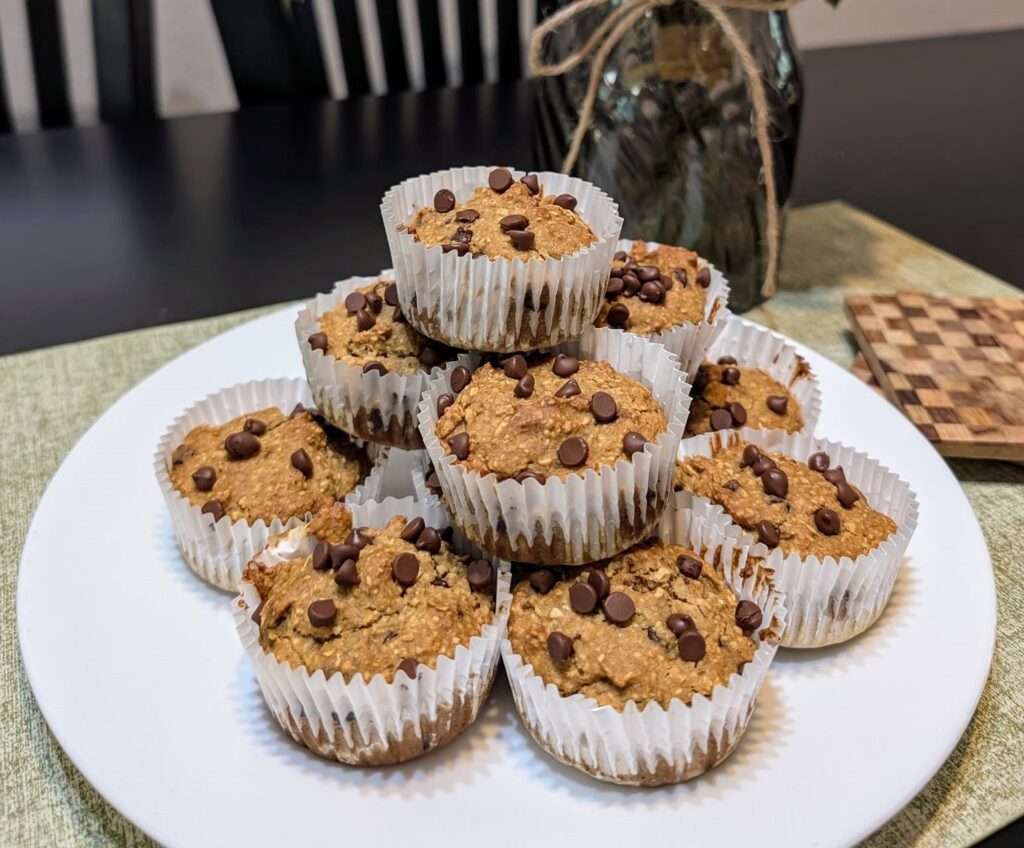
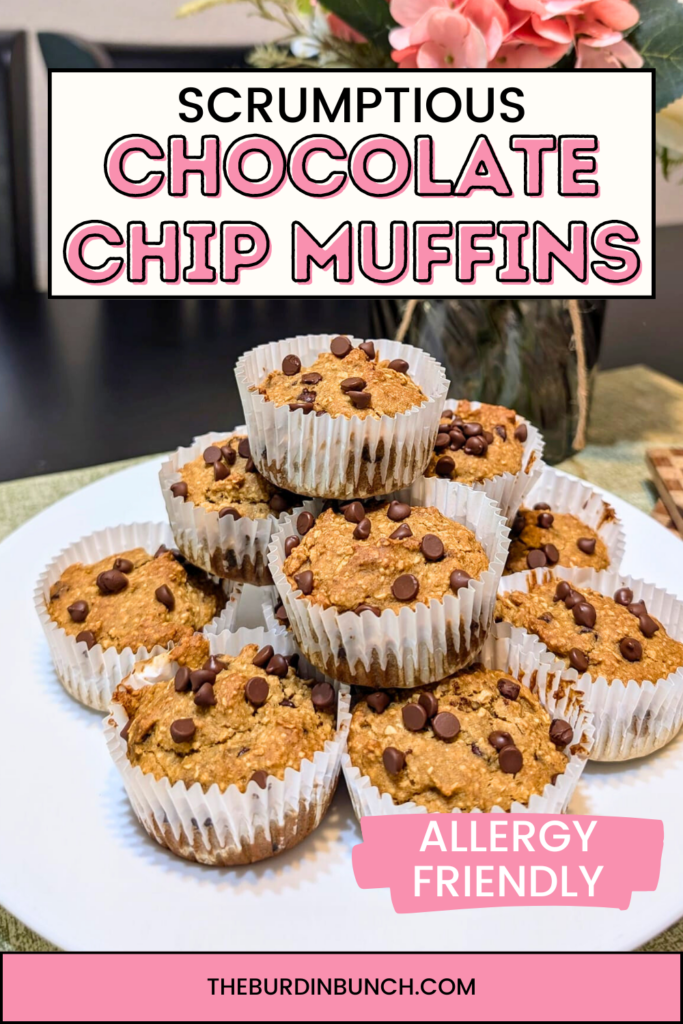
Let me tell you, as a mom to a child with multiple food allergies, finding a recipe that’s both safe and delicious can sometimes feel like searching for a needle in a haystack. After some quick research—because, let’s be honest, who has time for hours of scrolling through Pinterest—I found some ideas and decided to whip up something that would work for my family. The result? A batch of chocolate chip oat muffins that my son absolutely devoured! Seriously, if I hadn’t intervened, the kid would’ve inhaled the entire batch. Plus, my younger son had a blast helping out with every step.
The Backstory: Why I Love This Recipe
I’ll admit, I’m not the type to spend endless hours experimenting in the kitchen. I’m more of a “let’s find what works and make it awesome” kind of mom. So, when I came across a few different recipes online, I knew I had to combine the best parts to create something special for my family. The goal was simple: make a muffin that’s safe for my son’s allergies but still so tasty that everyone else would love them too. Mission accomplished!
Ingredients
Here’s what you’ll need to make these allergy-friendly muffins:
Dry Ingredients:
- 2 and 1/4 cups gluten-free quick-cooking oats
- 1 and 1/2 teaspoons baking powder
- 1/2 teaspoon baking soda
- 1/4 teaspoon salt
- 1/3 cup granulated sugar
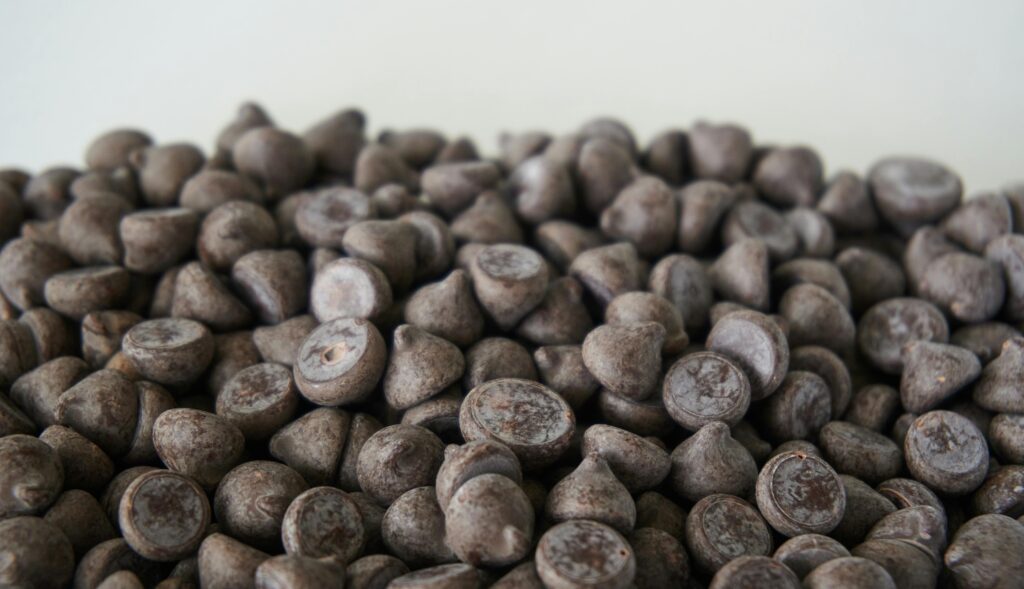
- 1/2 cup dairy-free chocolate chips, plus more for sprinkling
Wet Ingredients:
- 3 tablespoons oat milk
- 1/3 cup sweetened applesauce
- Egg replacer equivalent to two eggs (We use Bob’s Red Mill)
- 1 teaspoon vanilla extract
- 2 ripe medium-size bananas, broken in half (If you have little ones help you, they love the task of mashing the bananas, although it’s not necessary.)

Instructions
- Preheat the Oven: First things first, let’s get that oven going! Preheat it to 350 degrees F. Now, grab your 12-cup muffin tin, line it with paper liners, and give those liners a light coat of nonstick cooking spray. Trust me, nothing’s more frustrating than half your muffin sticking to the paper.
- Prepare the Oats: Here’s a fun choice: Do you want your muffins smooth or with a little texture? If you’re like me and love a smooth muffin, throw those oats into a blender or food processor and grind them into a fine flour-like consistency. If you prefer a chunkier muffin, feel free to skip this step. My younger son had a blast mashing the bananas, so I let him go to town on those while I handled the oats.
- Mix the Dry Ingredients: Once your oats are ready (or not, if you skipped the blending), transfer them to a large mixing bowl. Add the baking powder, baking soda, salt, and sugar. Give it all a good stir to make sure everything’s well combined.
- Blend the Wet Ingredients: In the same blender (because who wants extra dishes?), toss in the bananas, applesauce, egg replacer, vanilla extract, and oat milk. Blend until the mixture is smooth and well combined. If you’re like me, you might even sneak a taste at this point—it’s that good!
- Combine and Blend: Now, pour your dry ingredients into the blender with the wet mixture. Blend until you have a thick, smooth batter. This part always makes me feel like a kitchen magician—transforming simple ingredients into something amazing!
- Fold in Chocolate Chips: Grab a spoon or spatula and gently fold in the dairy-free chocolate chips. Don’t skip this step; it’s what takes these muffins from “good” to “oh my goodness, these are amazing!”
- Pour and Top: Time to divide the batter evenly into your muffin cups. Fill them about 3/4 full. If you’re feeling fancy (and who isn’t when chocolate is involved?), sprinkle a few extra chocolate chips on top of each muffin.
- Bake: Pop those muffins into the oven and bake for 15-20 minutes. You’ll know they’re ready when they spring back to the touch and a toothpick inserted into the center comes out clean. The tops should be a beautiful golden brown, making your kitchen smell like a chocolatey dream.
- Cool and Store: Let the muffins cool in the pan for about five minutes before handling them. Serve warm or cool. Once cooled, store them in an airtight container. These babies stay fresh for several days—if they last that long!

Why These Muffins Are a Must-Try
So, what makes these muffins so great? Let me count the ways:
- Perfect for Class Parties: With more kids dealing with allergies, these muffins may be a safe, inclusive option that everyone can enjoy.
- Breakfast Bliss: Serve them with a glass of orange juice and some crispy bacon for a breakfast that feels indulgent yet balanced.
- Snack Time Savior: Whether you’re at home or on the go, these muffins make the perfect mid-day pick-me-up.
- Party Pleasers: Hosting a gathering? These muffins are sure to be a hit, offering a sweet treat that’s safe for most dietary needs.
Final Thoughts
This recipe has quickly become a staple in our house, and not just because it’s allergy-friendly. It’s a recipe that brings the whole family together—from my older son’s enthusiastic taste testing to my younger son’s eager kitchen help. There’s something magical about creating something that’s not only safe and delicious but also filled with love and fun memories.
If you give these muffins a try, I’d love to hear how they turned out for you! Feel free to leave a comment below, and don’t forget to follow me on social media for more family-friendly recipes, tips, and a bit of mom humor. Happy baking!